
 You probably never thought the day would come when Madeira Desouza would show you behind-the-scenes secrets of 3D digital art. Well, here we go…
All of what you see here today comes from practical, hands-on experience in creating digital art for more than a decade—not from time spent in school.
This information session covers my creation of male characters with a rare behind-the-scenes perspective. The majority of digital art creators depict women, so you can easily find other places to learn about how those creators work. But, this site and this information session is exclusively devoted to depictions of male characters.
You can learn from all this if you are interested in creating male characters for your own 3D digital art.
Here I will explore photorealistic images created as 3D digital art (not flat 2 dimensional art) for depicting realistic human characters.The most common uses of digital art today are in video games and TV commercials and digital animation for full-length Hollywood motion pictures.
Skills and Talents
Before I jump into the processes behind how I work, I hope you will accept the reality that merely acquiring a device and an app will not necessarily enable you to produce visual works that are any good. Getting a basketball won’t make you an athlete who is ready for the NBA. Getting a word processing app won’t make you a best-selling writer. The same holds true about using devices and apps for producing digital illustrations.
You must be born with certain specific talents relative to all others so you may succeed at a professional level in any endeavor that requires sharp coordination between your brain, your eyes, and your hands. That is simply one of the rules of real life that cannot be altered merely by wishing something else were true.
Required Talents for Producing 3D Images
It may be beneficial for you to learn tactics and techniques through classroom or online instruction and training. You can also refine your skills if you can find and emulate best practices of people whose works you respect and who may have influenced you. Just jump into it and keep trying to convey what’s in your mind onto the screen using apps. But, you genuinely must be someone who was born with aesthetic, narrative, and technical talents to enable you to create 3D illustrations if you expect to be taken seriously. |
Devices
If you want to produce 3D illustrations, you must use a computerized device. Personally, from the very beginning of doing this kind of production in 2007, I have favored Apple devices. This preference of mine is due to the operating systems and the devices that Apple has sold over the years. I also am attracted to the simplicity and elegance of Apple devices and apps. It is also true that I have never met anyone who uses Apple devices who is unhappy about that choice!
While it is possible to work in visual production using hand-held devices, I recommend that if you are serious about producing 3D illustrations, you should accept the need for working using a sufficiently large monitor on which to display your works in progress. Creating works using only a four- or five- or eight-inch screen ultimately will constrain your output and without a sufficiently large monitor, you won’t be able to see the overall context or the level of detail in your visual creations.
Using Devices and Apps
If you are serious about producing visual works, my belief is that you also must develop and demonstrate a true flexibility using devices and apps. This is why I recommend that you should work diligently to become comfortable using devices and apps that are created for the Windows operating systems once you master the Apple operating system and devices. At this point in my life, I use Apple and Windows devices and apps interchangably without any adjustment issues in switching back and forth. This is a skill set that you, too, can learn if you apply yourself.
When I started out producing 3D digital illustrations, I initially used software named Poser that was developed in 1995. Learn more about Poser.
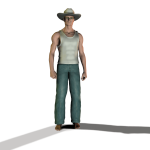
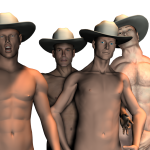
Shown below are some of my earliest attempts to create illustrations of men from 2007. I have to admit that these look very primitive and awkward. At that time, I had not yet arrived at the level of skill that I have today.
Recommendation
Because I came to feel very restricted by the way Poser works, I went in search of some other software that would better suit the way I work. I’m pleased to report that I found it! DAZ (Digital Art Zone) 3D Studio is what I use exclusively today and what I recommend to anyone.
Step-by-Step Using DAZ 3D Studio
It always begins on a blank screen in the app. Next, I often add a visually-neutral background such as what’s known as an infinity cove, which will not pull the viewer’s focus away from the characters that I will put into the scene.

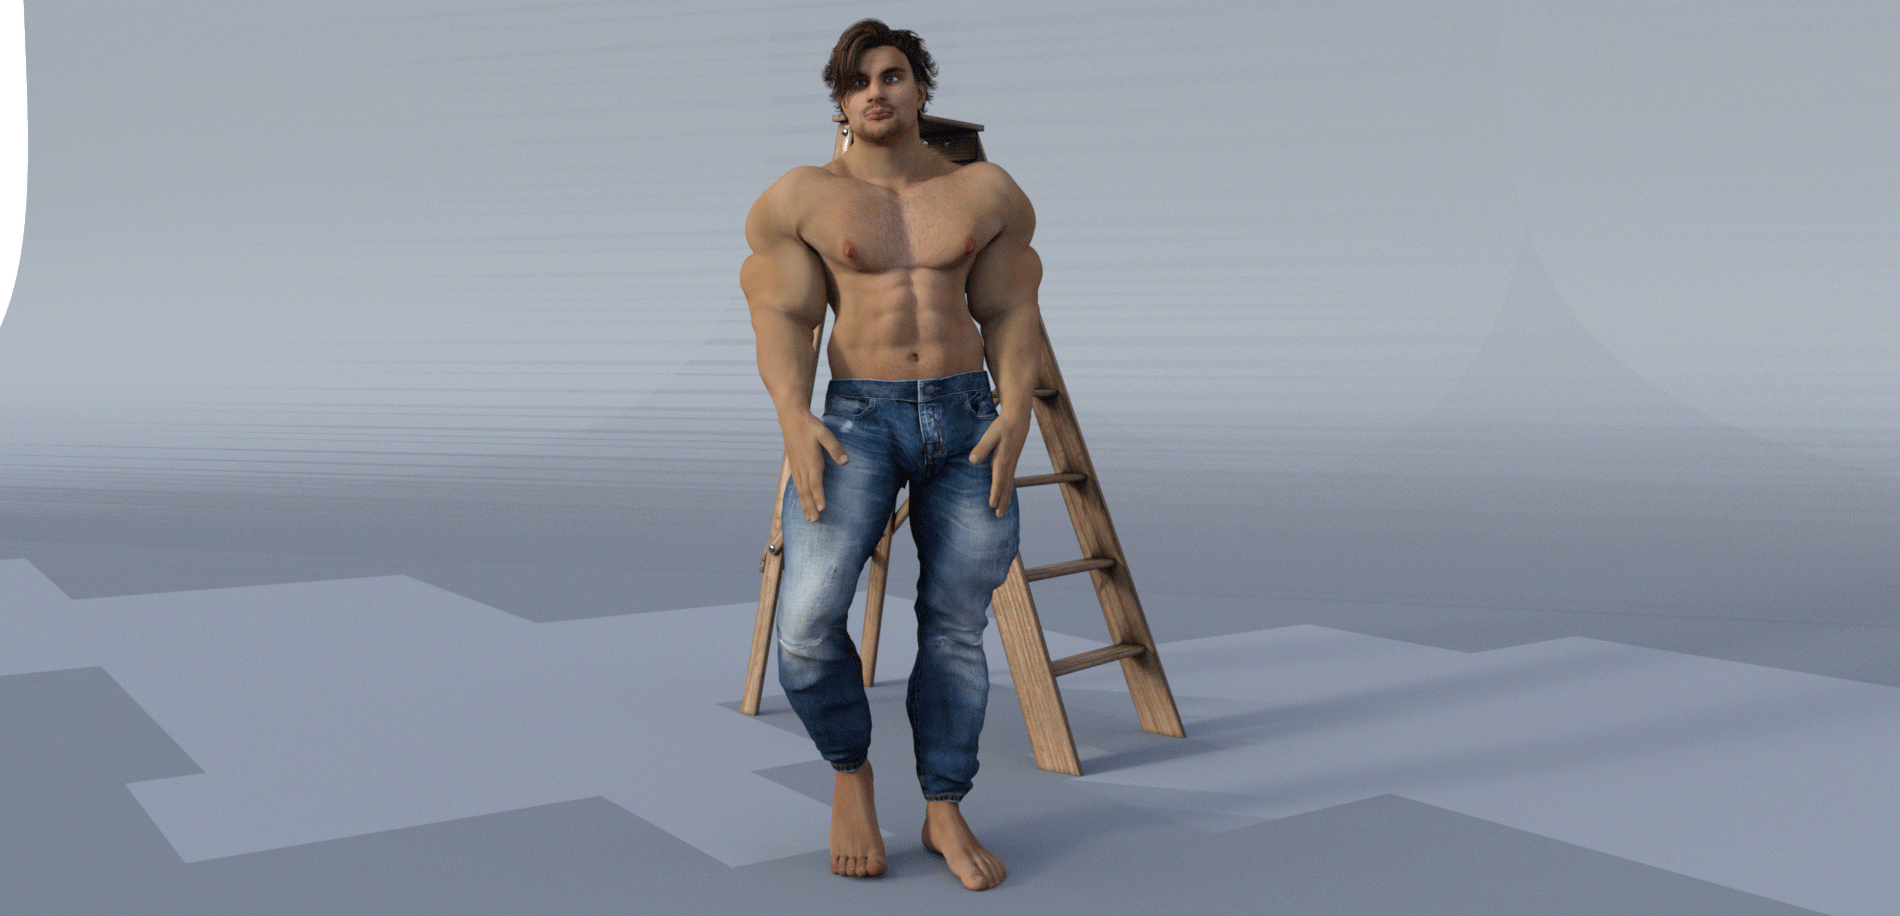
For this demonstration I next add a prop to the scene—an ordinary wooden ladder.

Then it is time to add at least one human character to the scene. The app affords you a huge selection of resources that you can purchase separately so that you end up with component parts that you can pull together to tell a story visually. The character starts out looking very incomplete (no genitalia) and maybe just a little physically unhealthy compared to how a normal human being looks in real life. Note that nudity is always completely optional when creating characters since you can add costuming or other clothing as you wish depending on what you are trying to accomplish visually.
The character’s body will always need to be posed in a specific way (head, arms, hands, chest, midsection, legs, feet) since the character does not come out of the app posed exactly as can be envisioned. I have already made creative decisions about the stage lighting in the scene that I’m creating and where the camera is situated compared to the characters. All of these elements (lights, camera, scene props, and, characters) I think about and plan in advance. Then, I adjust everything within the workscreen of the app.
![]()
Within the app, I can fine-tune how I want a character to look. This involves changing his body shape so that he looks realistic like a man would look in the physical world in which we all are living.
![]()
Developing the character’s overall look and his personality also is not “automatic” and many choices must be made to get exactly what you want in a character. Once I add hair on his head and face, he begins to become recognizable as a possible human being you might actually meet. Giving him a pair of blue jeans to wear can be a good finishing touch. I usually give the character a name. This character I named “Mal”—a nickname for Malcolm.
A similar process must be used for each and every character that I place into the story. This can be incredibly time-consuming depending on the total number of characters in the scene. Here are establishing shots of the three characters standing in front of the wooden ladder before the story begins. These are supposed to look as if I’d been a photographer shooting in a studio where three real-life male actors are involved in telling a story visually.


One last storytelling element comes next. The character Mal has to be shown climbing up the ladder because that’s where he is supposed to be when the scene starts. Of course, this guy goofs off for the others while making his way to the very top just like we might expect an actor to do on the set before filming begins.

The last step I take is to bring all the elements together to create a specific story.
When Mal doesn’t move or talk after he hit his head hard on the floor, suddenly the other two guys realize that something very bad has happened to him. Ya think?
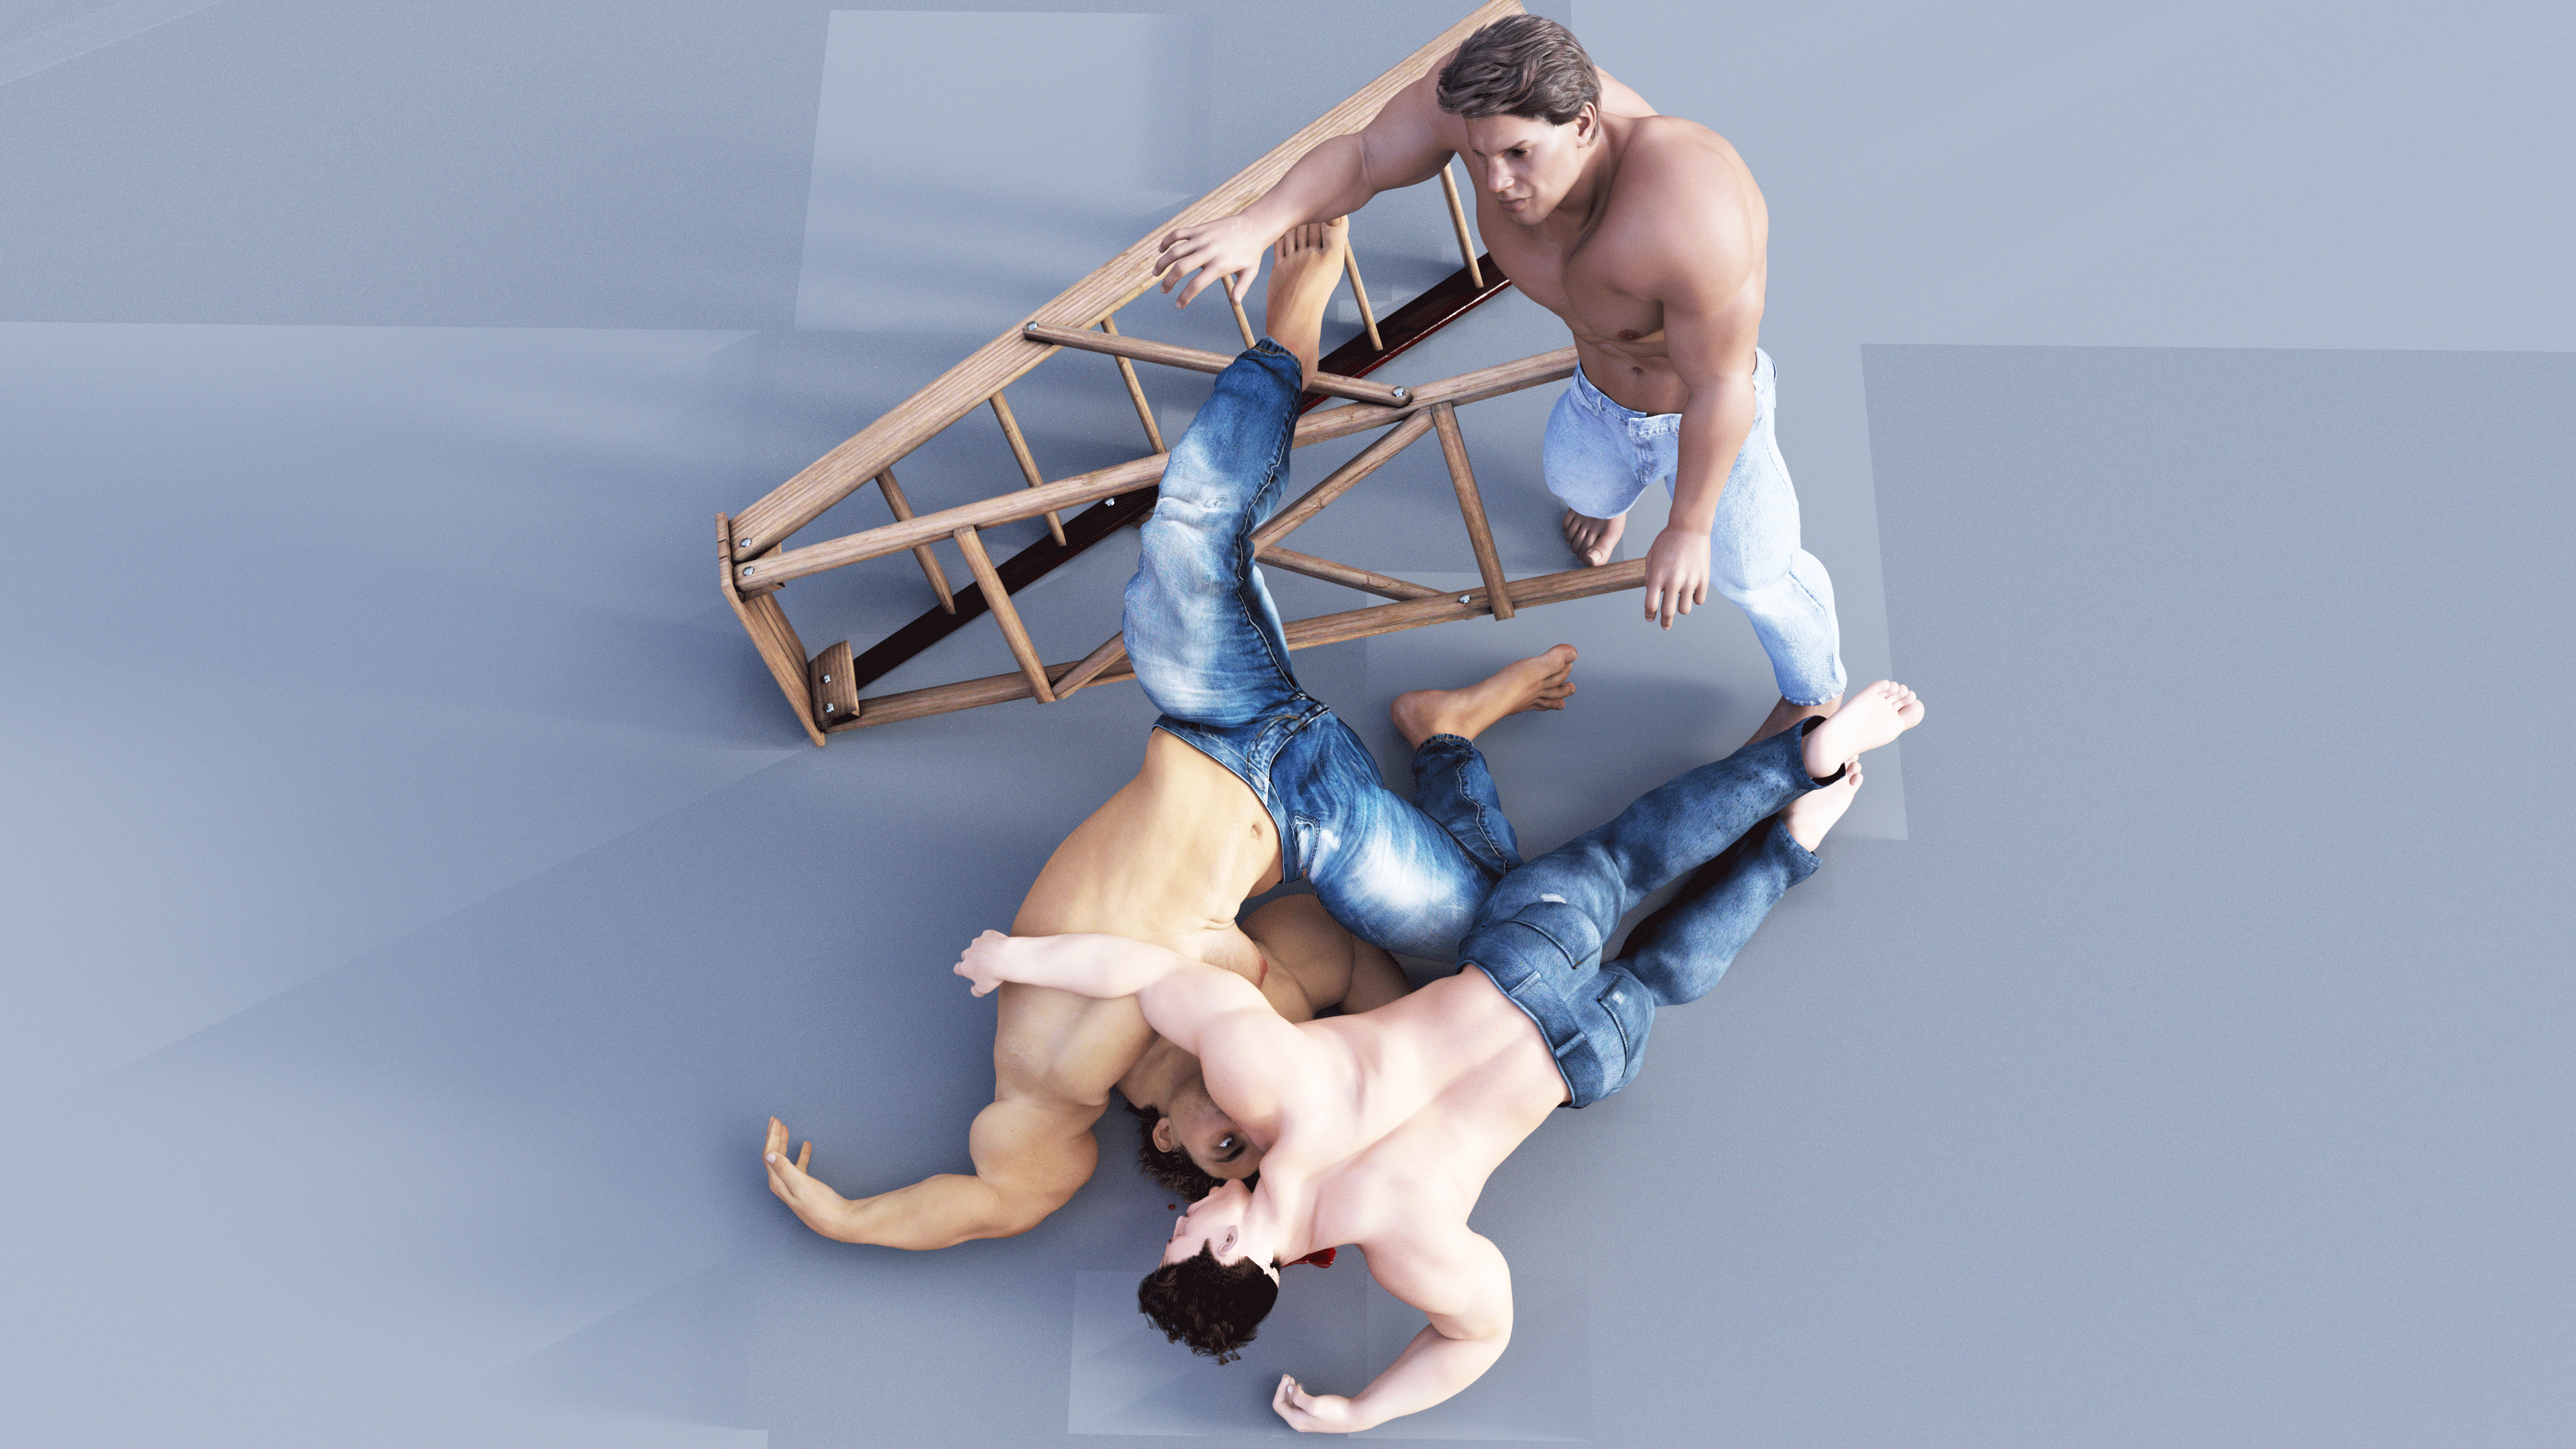
Most people know that in the real world, you should never move an injured person at the scene of an accident, right? Well, what do you think the chosen course of action is for the two guys that are now in full panic mode?

Thank you for your interest in this behind-the-scenes look at how I create my 3D digital images. Contact me if you would like to learn more about creating 3D digital images.
